Creating Client Tasks

Using Motion.io’s client tasks, anything you need clients to do, submit, sign, or approve can be attached to tasks that clients can complete directly in their Motion.io client portals.

This article will explain how client tasks work in Motion.io and provide instructions for creating them.

How Client Tasks Work

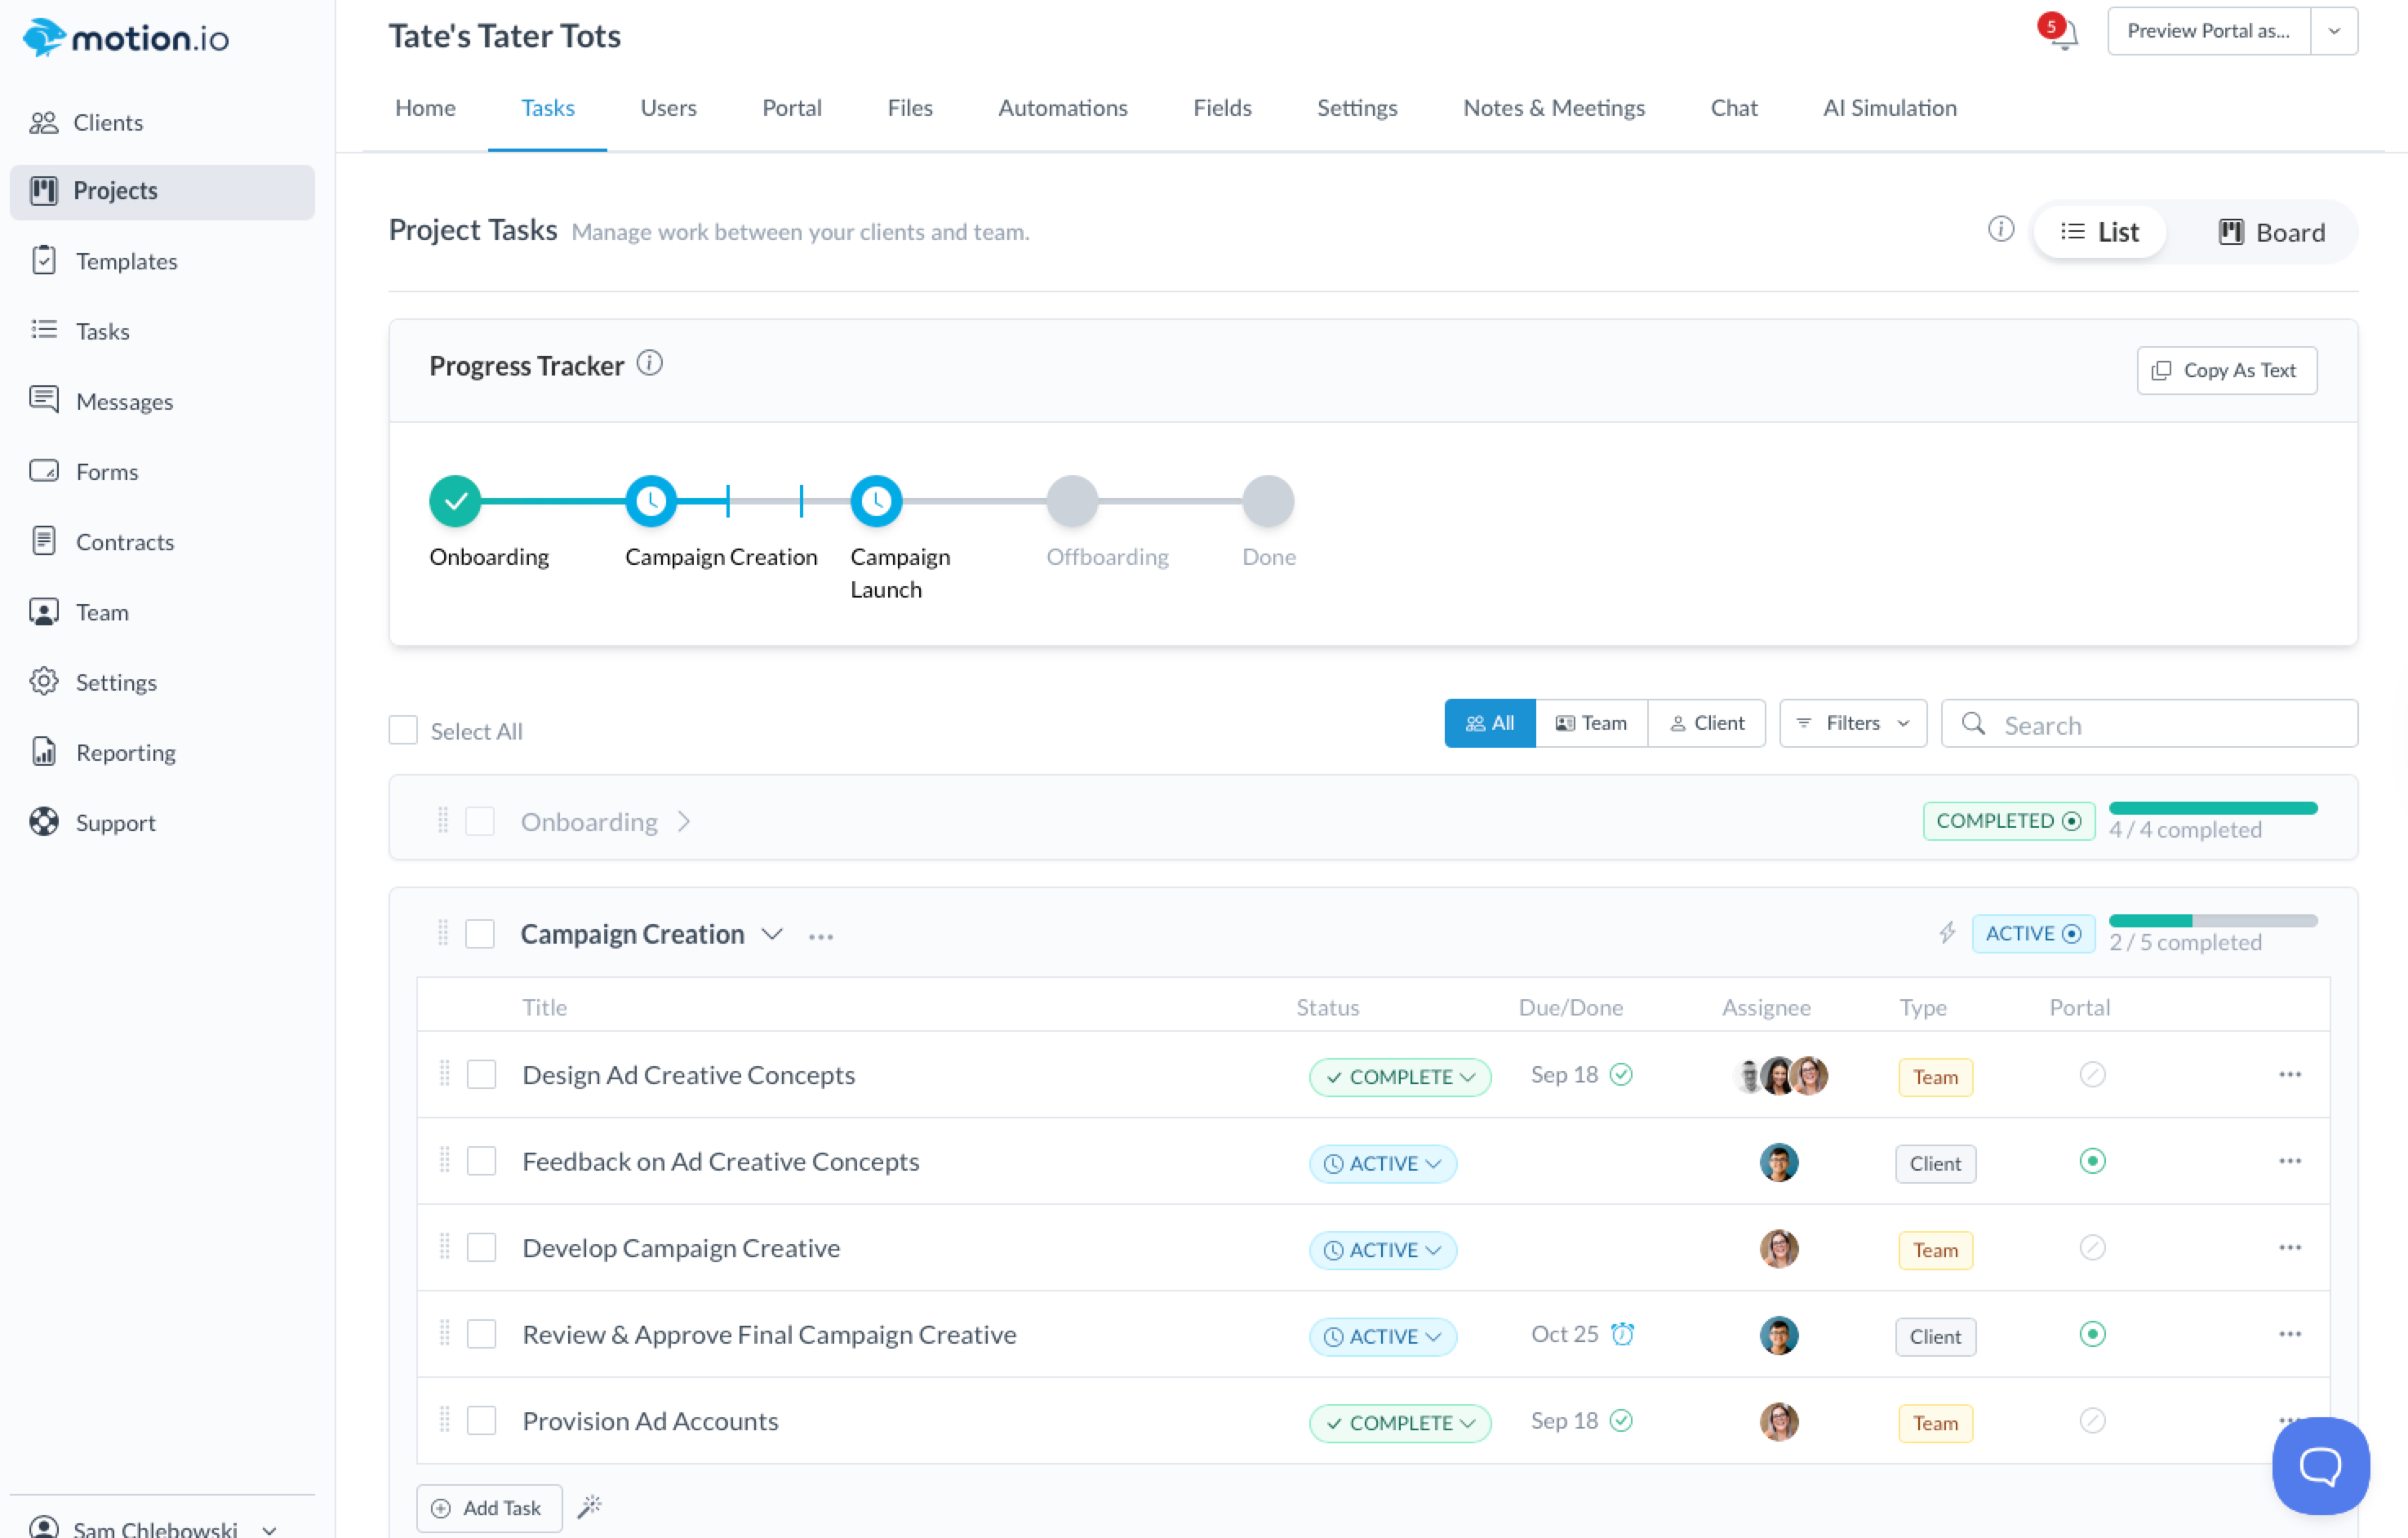
Within your Motion.io projects, tasks you create and assign to clients will appear on the Tasks page of their portals. Whenever you create a client task, you can set a due date and reminders to automatically notify clients about outstanding tasks they must complete.

Team view of tasks in a Motion.io project

How to Create Client Tasks

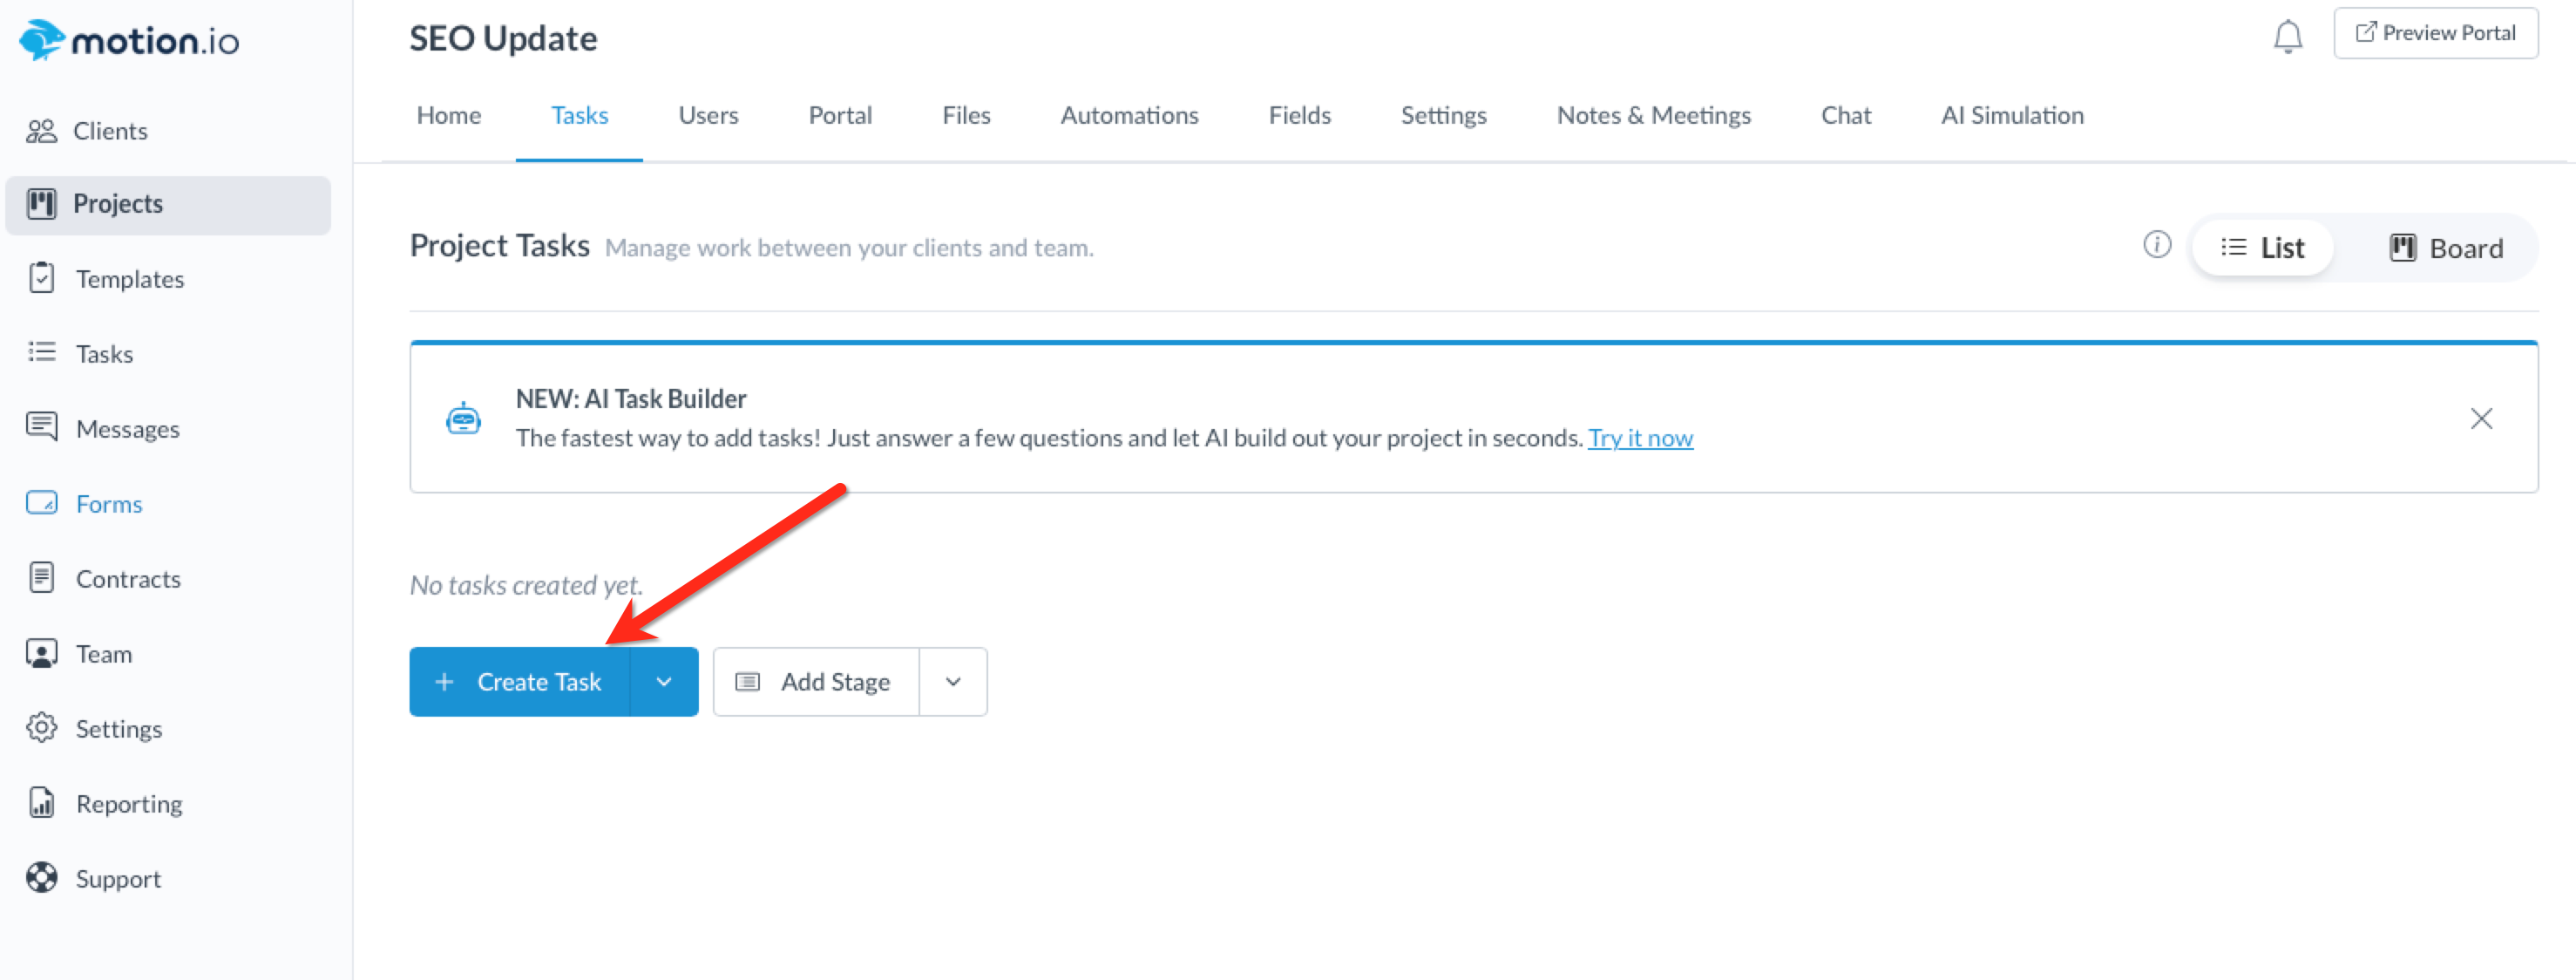
To create a client task, select a project and navigate to the Tasks page of that project. Next, click the button labeled "Create Task."

When creating client tasks in a brand new project, the Create Task button will appear near the center of your screen.

Creating a task in a brand new project

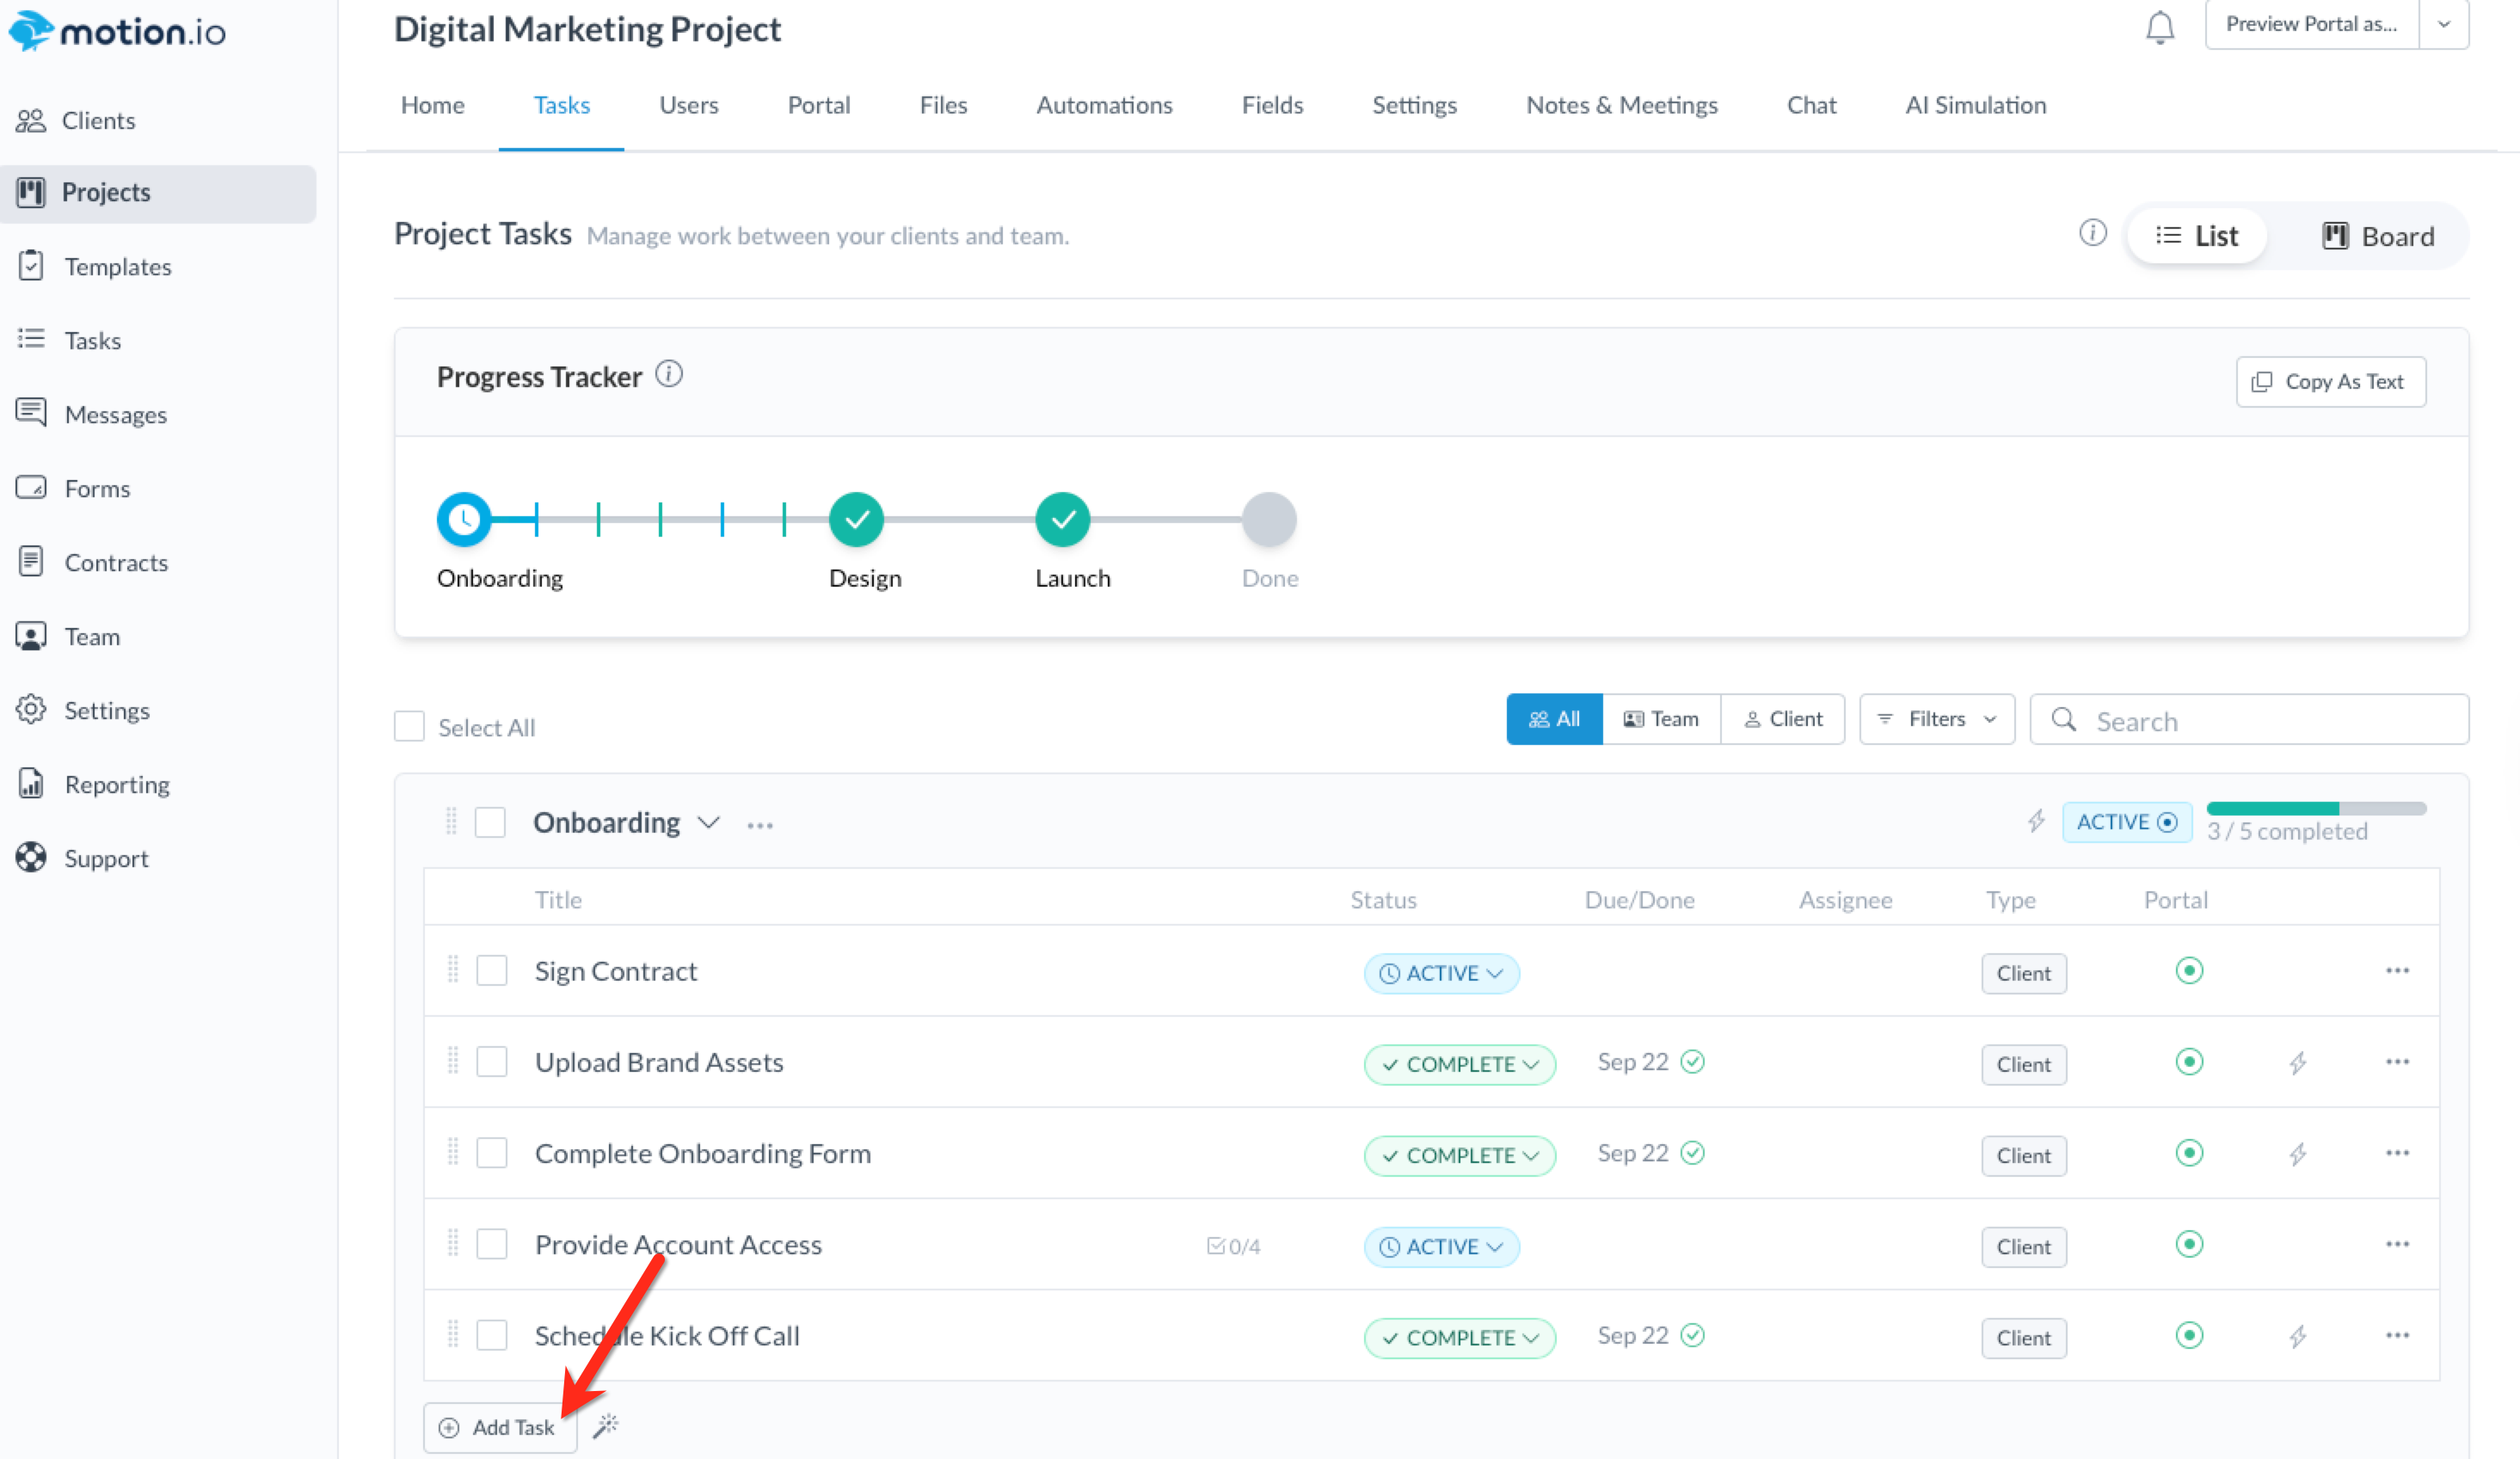
If you're creating tasks in an existing project where you've set up project stagesclicking the gray "Create Task" button in a stage will automatically assign the task you create to that stage.

πŸ‘‹ Tip: Project stages in Motion.io enable you to organize related tasks into a single stage to help clients understand when, how, and why the tasks should be completed. While you can create tasks without assigning them to a stage, doing so can help your team and clients stay organized.

Using the Client Task Composer

Clicking the button to create a task will bring up Motion.io's task composer. This task composer enables you to create any type of client task using the same universal interface.

The sections below will explain what each aspect of the task composer does and how to use them.

1. Task Stage

If you've already assigned a task you're creating to a project stage, the name of that stage will be displayed under the Stage label of the task composer. If you created a task without assigning it to a stage β€” or would like to change the stage a task is assigned to β€” you can choose a stage for the task using the dropdown.

2. Task Recipients

Client tasks in Motion.io can be assigned to a single client or multiple. The field under Recipients in the task composer is where you assign clients to a task.

Clients you've invited to projects already can be added to tasks using the dropdown selector. If you still need to invite clients to the project and would like to do so as a part of creating a task, click the "+" icon to the right of Recipients.

πŸ‘‹ Tip: Using Motion.io's Bulk Actions you can assign clients, send tasks, and set due dates & reminders for multiple client tasks simultaneously. Click here to learn more.

3. Task Title

The Title field of the task composer allows you to specify a client-facing name for the task. In order to save a task, you must first enter a title.

4. Details

Using the rich-text editor under the Details section, you can provide additional context about a task and embed images and URLs. Any content you add to the Details section will appear at the top of the task when your client goes to complete it in their portal.

5. Request Options

Towards the bottom of the task composer, the five toggles under Request Options allow you to add or attach things to the client task you are creating. You can use none, one, or any combination of the following request options when creating client tasks. 

6. Due Date & Reminders

Clicking "Due Date" at the bottom of the task composer will allow to specify the day you need your client to complete the task by. After specifying a due date in the task composer, an option will appear that allows you toggle automated reminders for the task. To learn more about how automated reminders work in Motion.io, click here

7. Task Automations

Clicking the 'star' icon with the task composer, you can specify an action for a task you are creating that will happen automatically when when another event (called a 'trigger' event) occurs that project or client portal. To learn more about using Motion.io's client task automations, click here.

8. Internal Task Toggle

Internal tasks tell clients what your team is working on and can only be assigned to members of your team. To learn more about using the Internal toggle option of Motion.io's task composer, click here.

Sending Tasks to Clients

After adding the information you want to include in a client task, clicking "Save Task" at the bottom of the task composer will save your task as a draft.

πŸ“’ Note: Client tasks set to the Draft status will not automatically appear to clients in their portals. For clients to access tasks you've created, you must first send them to the client.

After assigning a client (or clients) to a task, there are three ways to send the task to them.

1. Send tasks using the task composer

To send a task from the task composer itself, click the dropdown arrow on the "Save Task" button, and select "Save and Send."

2. Send tasks using the task status dropdown

From the Tasks page of a project, click the status badge of the task you'd like to send. In the dropdown that opens, click "Send Task."


3. Send tasks using bulk actions

Using Motion.io's Bulk Actions, you can send multiple tasks to clients simultaneously. To do this, select the tasks you want to send from the Tasks page of a project and select "Send Tasks" from the Bulk Actions dropdown. Click here to learn more about using the Motion.io's bulk actions for client tasks.

Still need help? Contact Us Contact Us